iDevices Connected News
Here's what we've been up to at iDevices...
Building a daily routine with iDevices products in the Alexa app
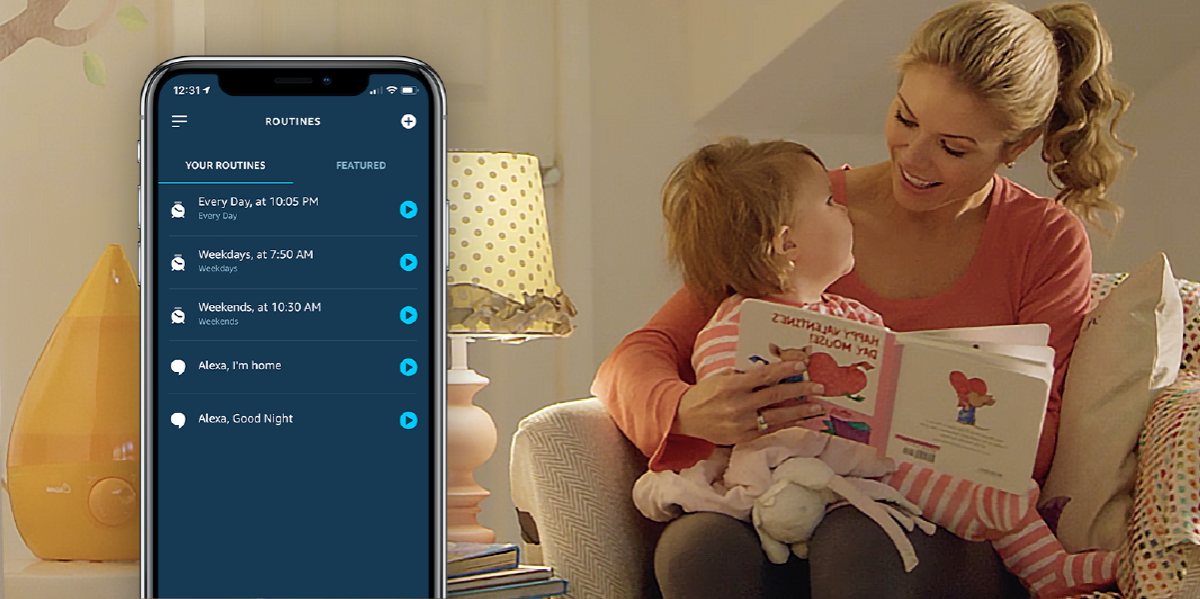

iDevices products work within the iDevices Connected app for remote access, scheduling, and automation — but it doesn't end there. iDevices products can also be pulled into the Amazon Alexa app, where users can create Routines (schedules and automations) with other Alexa-enabled products at home.
The iDevices Connected app is HomeKit-based, meaning users can pull any Apple HomeKit-compatible products into the app, no matter the brand. The Amazon Alexa app works in a similar fashion, allowing users to pull any Alexa-enabled products into the app (Note: iDevices products also work with the Google Assistant and can be pulled into the Google Home app the same way, but we're focusing on Alexa in this post to avoid confusion).
Once an iDevices product is pulled into the Amazon Alexa app (using this process), users can control products remotely via the app, with voice commands to an Alexa device, and through Routines — Amazon's term to categorize various scheduling and automation capabilities.
When creating Routines, there's no limitation by brand. Once any iDevices product is pulled into a homeowner's Amazon Alexa app account, they can control it alongside another brand's Alexa-enabled product through Groups or any number of Routines. Users can trigger Routines several ways. Among the most popular are: a custom voice command; a set schedule; the state of another smart home device; location; and when an Alexa alarm is dismissed.
Amazon has plenty of resources on how to create Routines, including a short video on this page, or step-by-step directions on this page.
Here's a quick rundown on creating a schedule with an Alexa Routine. Don't be intimidated by the number of steps below, we're just going into detail for those new to the Amazon Alexa app. This process can literally take you 30-45 seconds if you know what you want to do:
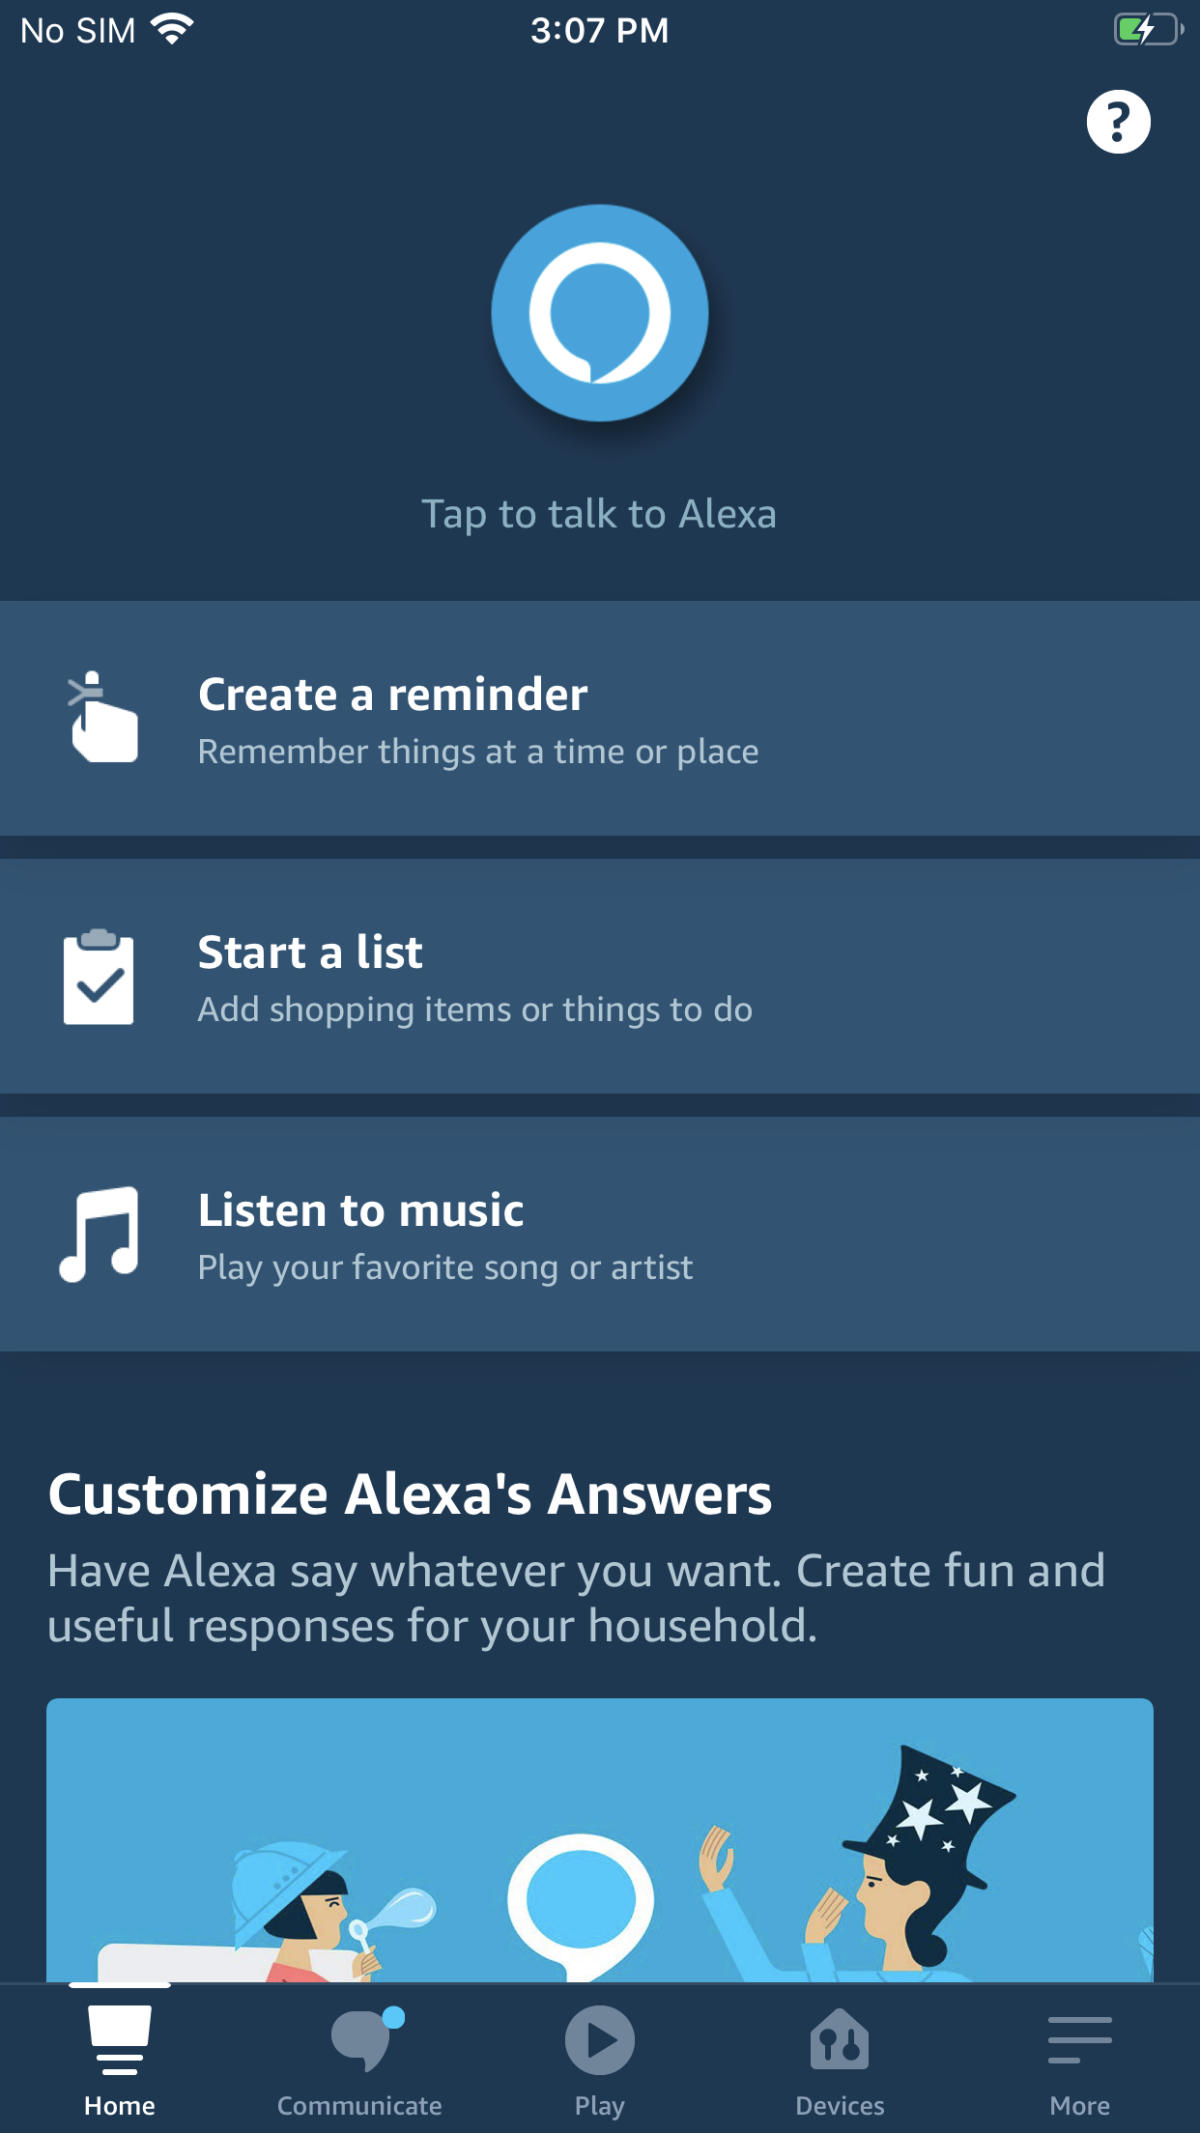
Step 1: Open the Amazon Alexa app and press "More" in the lower toolbar.
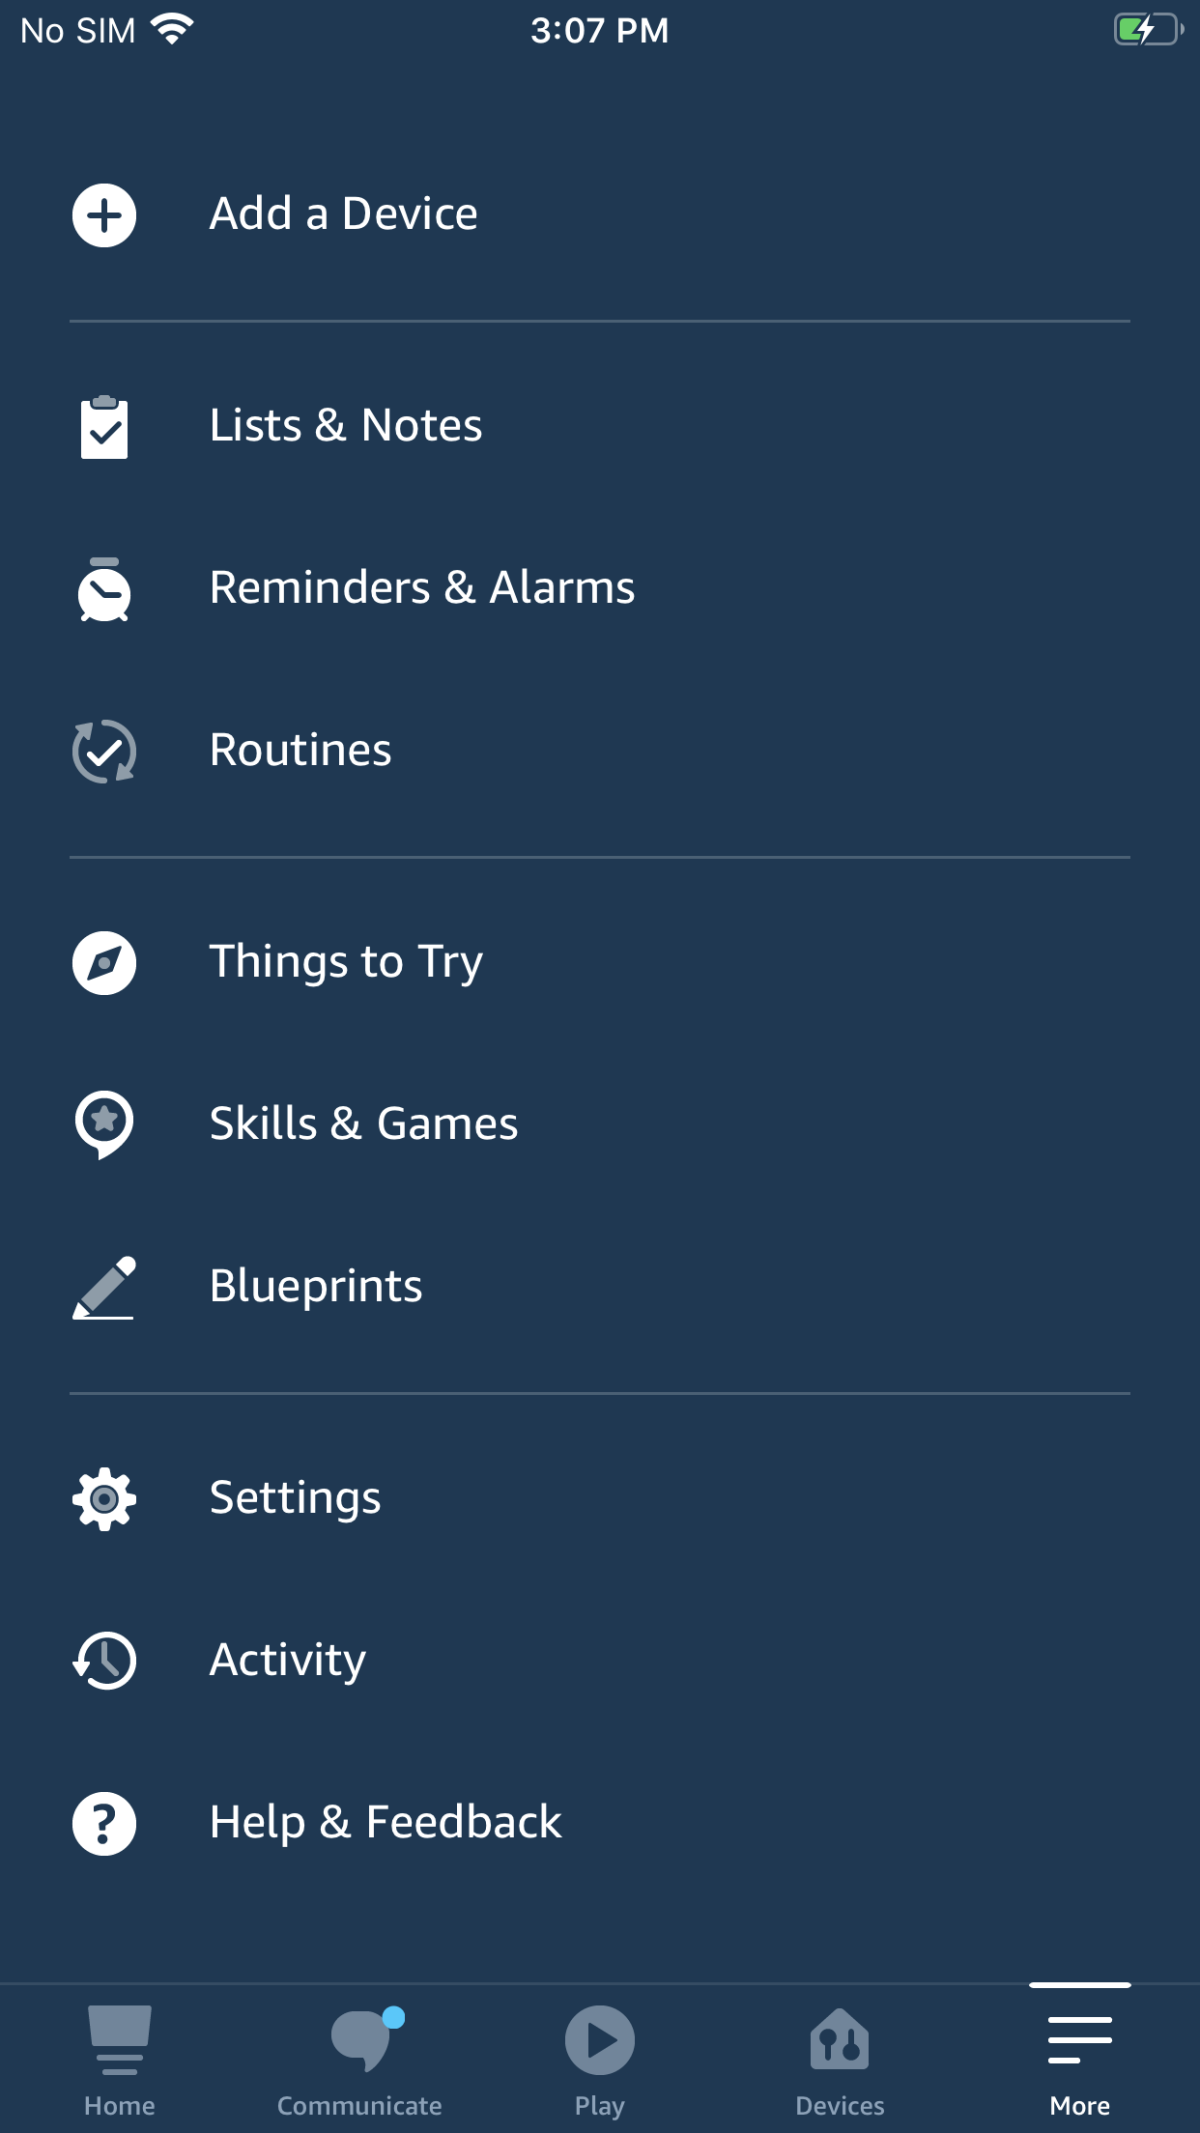
Step 2: Click "Routines" in the expanded menu.
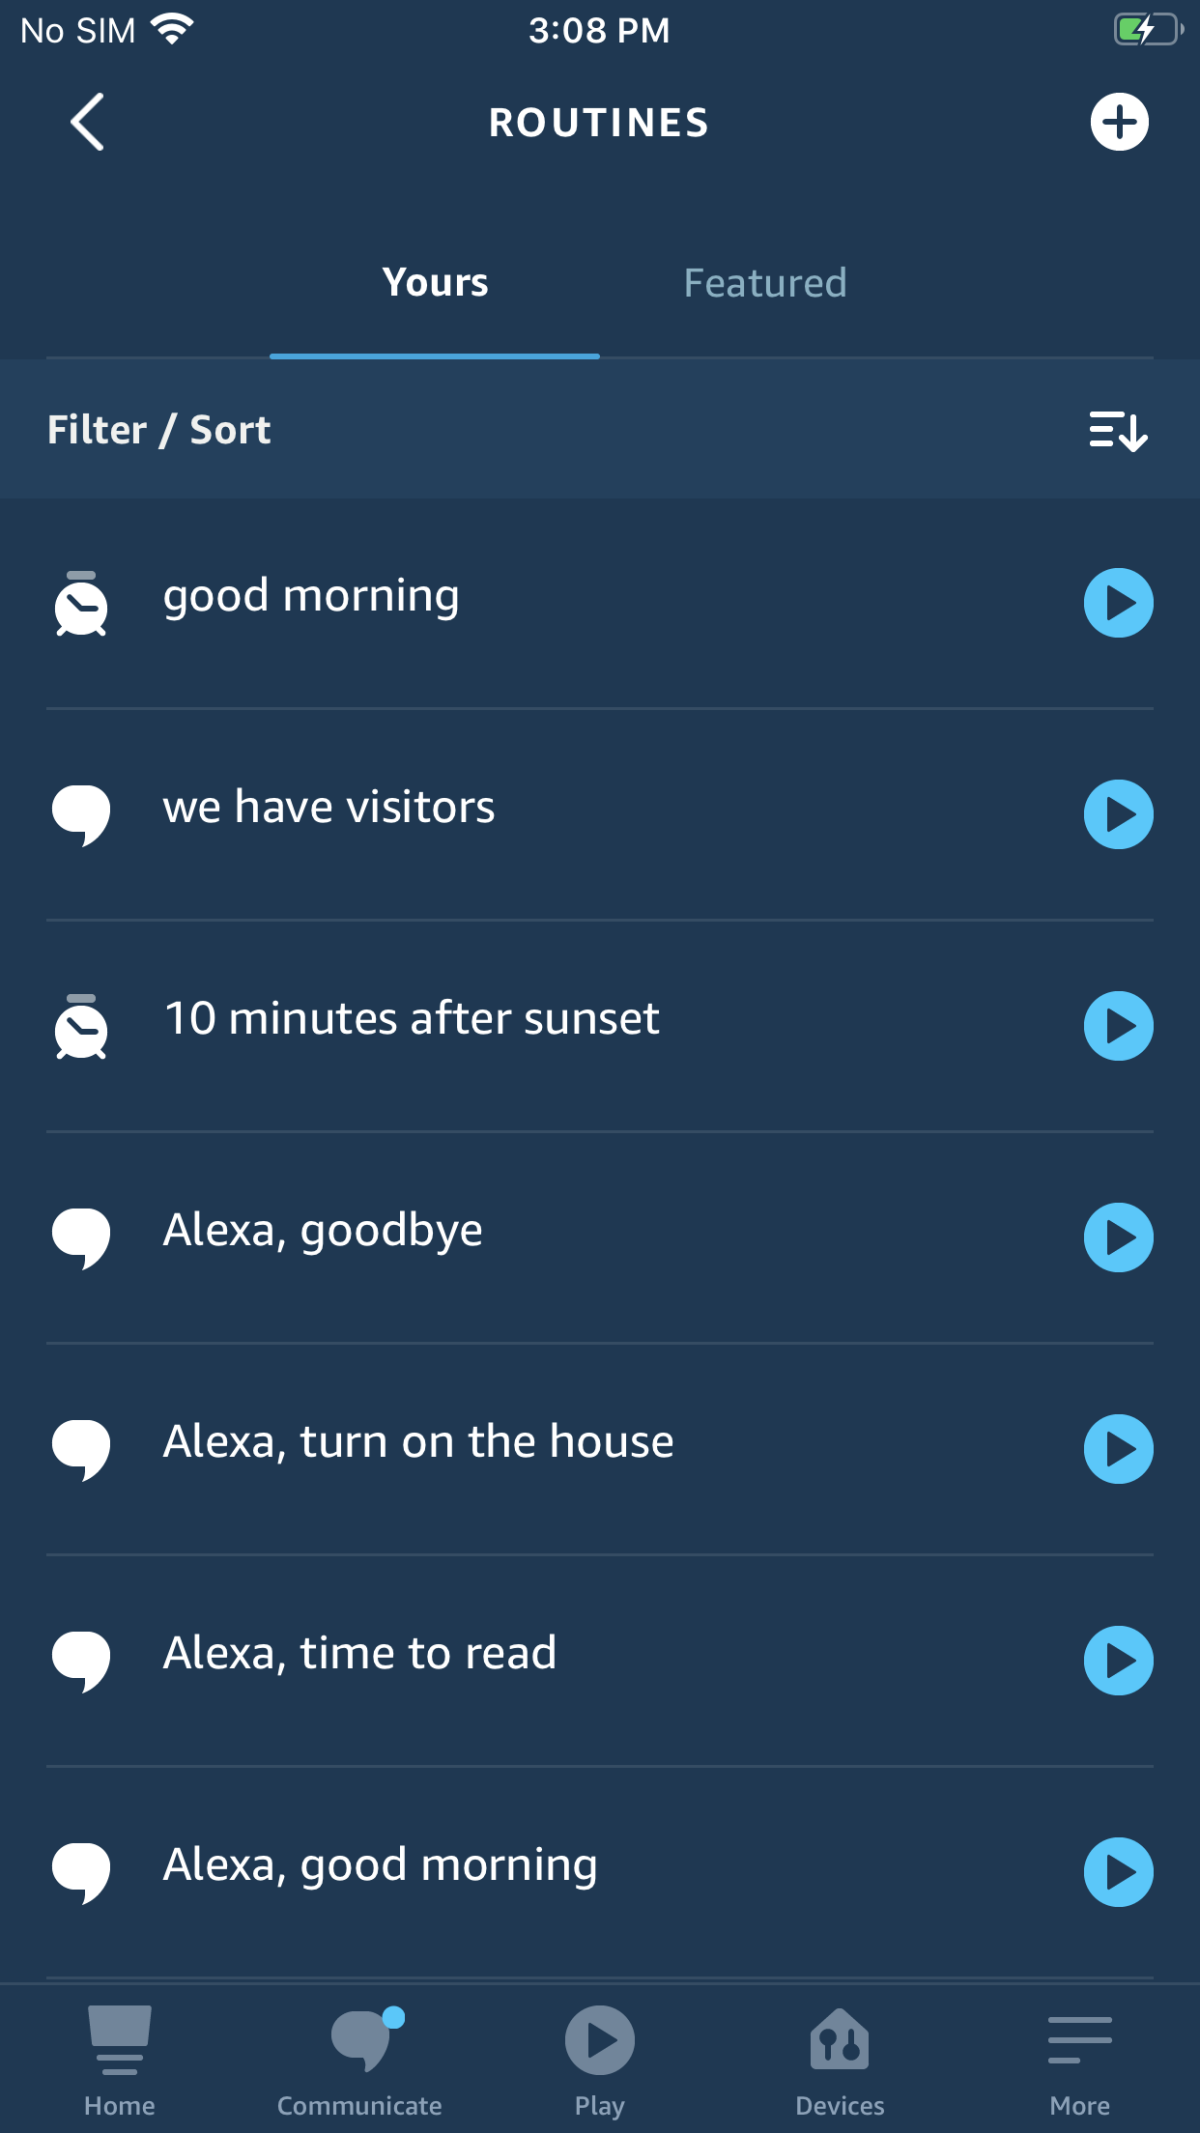
Step 3: A screen showing all of your current Routines will appear. You can also toggle right to "Featured" Routines recommended by Amazon. We're creating a new Routine, so press the "+" symbol on the top right-hand corner of the app.
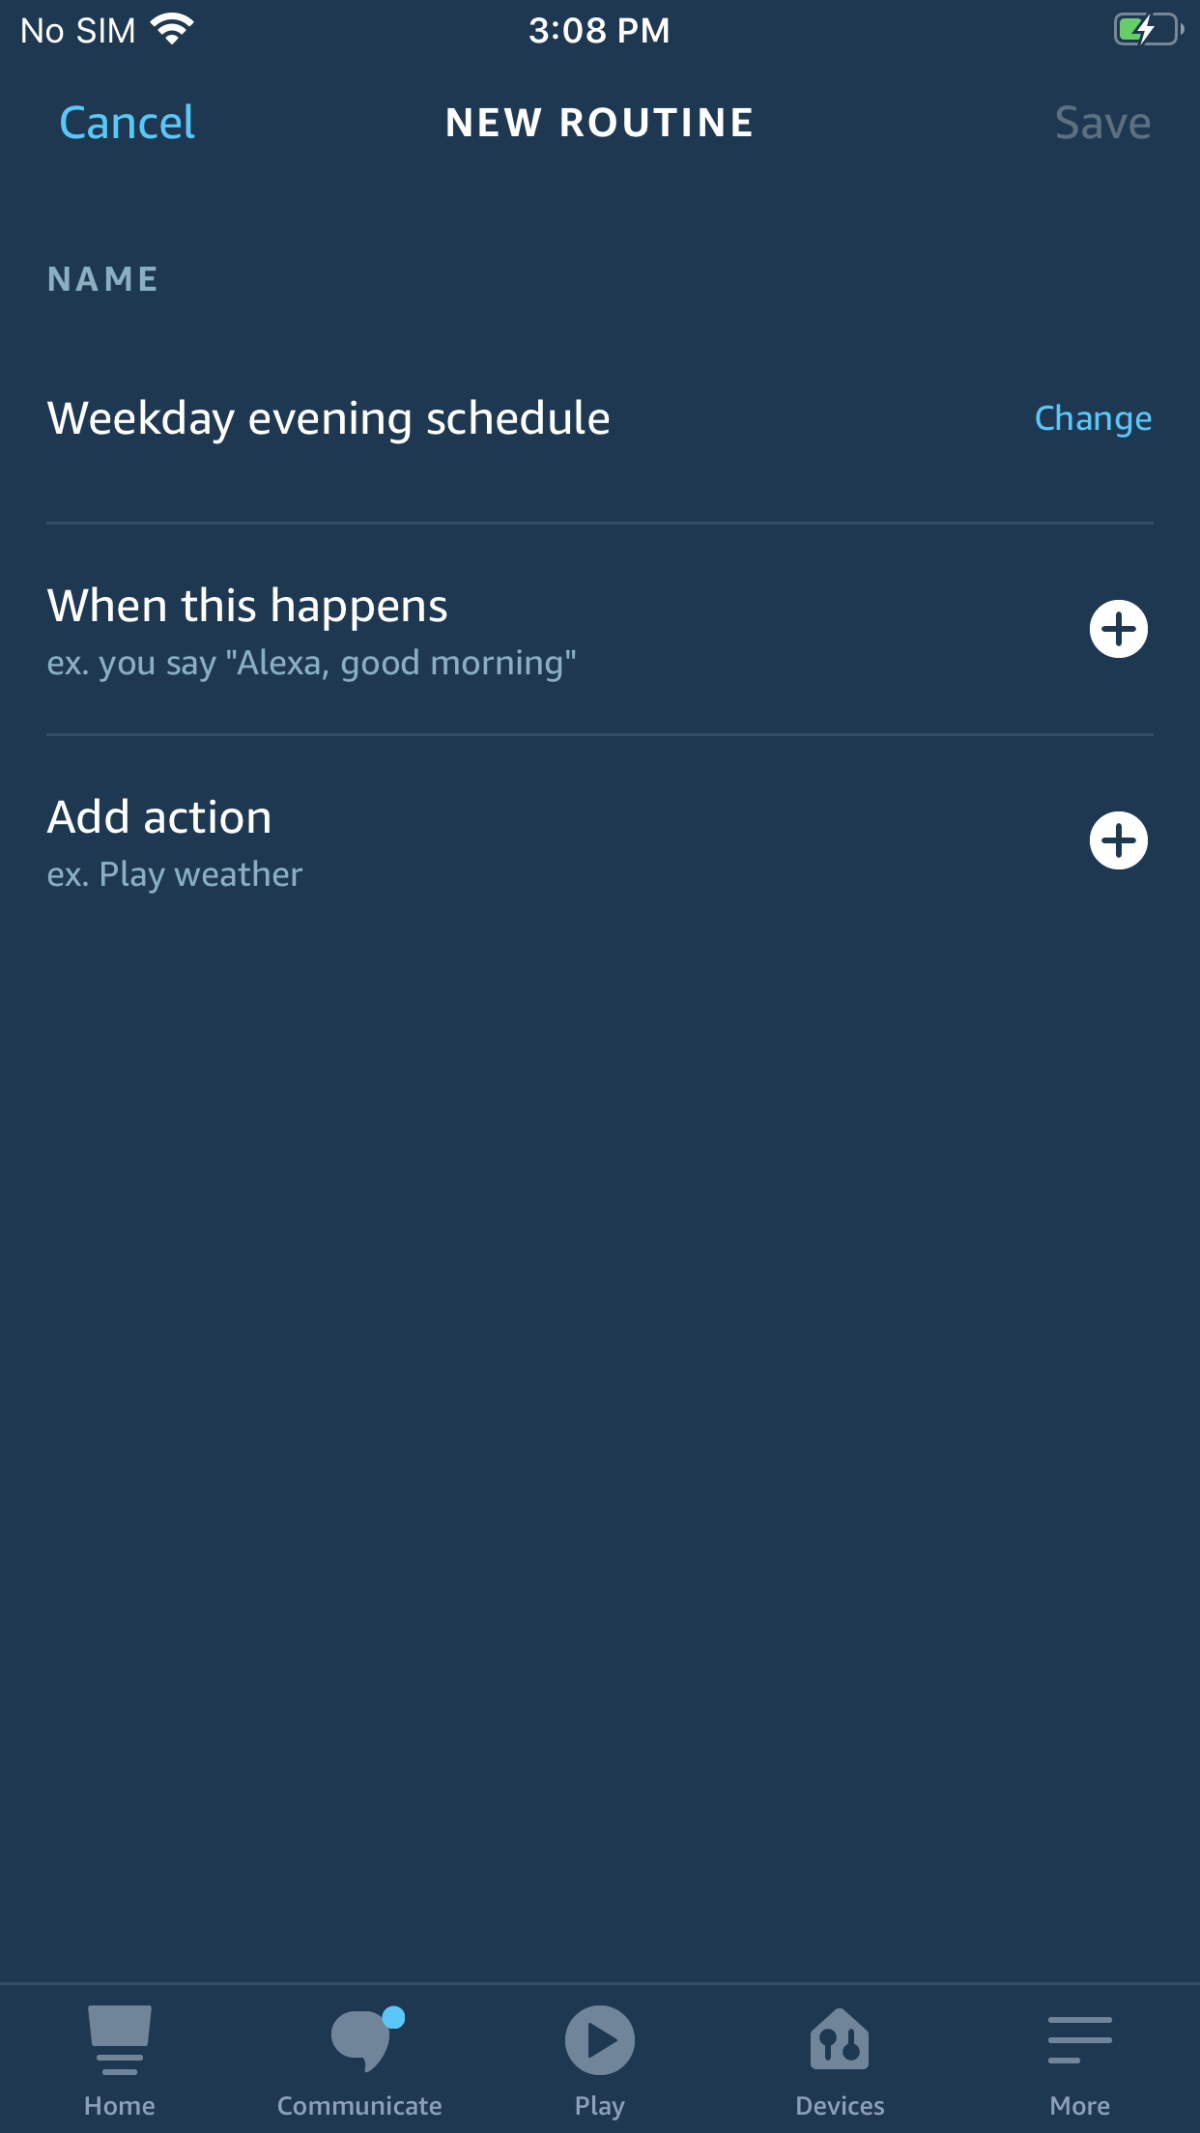
Step 4: Create a name for your Routine. We suggest an obvious name based on its purpose for easy tracking. Then select the trigger for your Routine by pressing the "+" symbol next to the "When this happens" prompt.
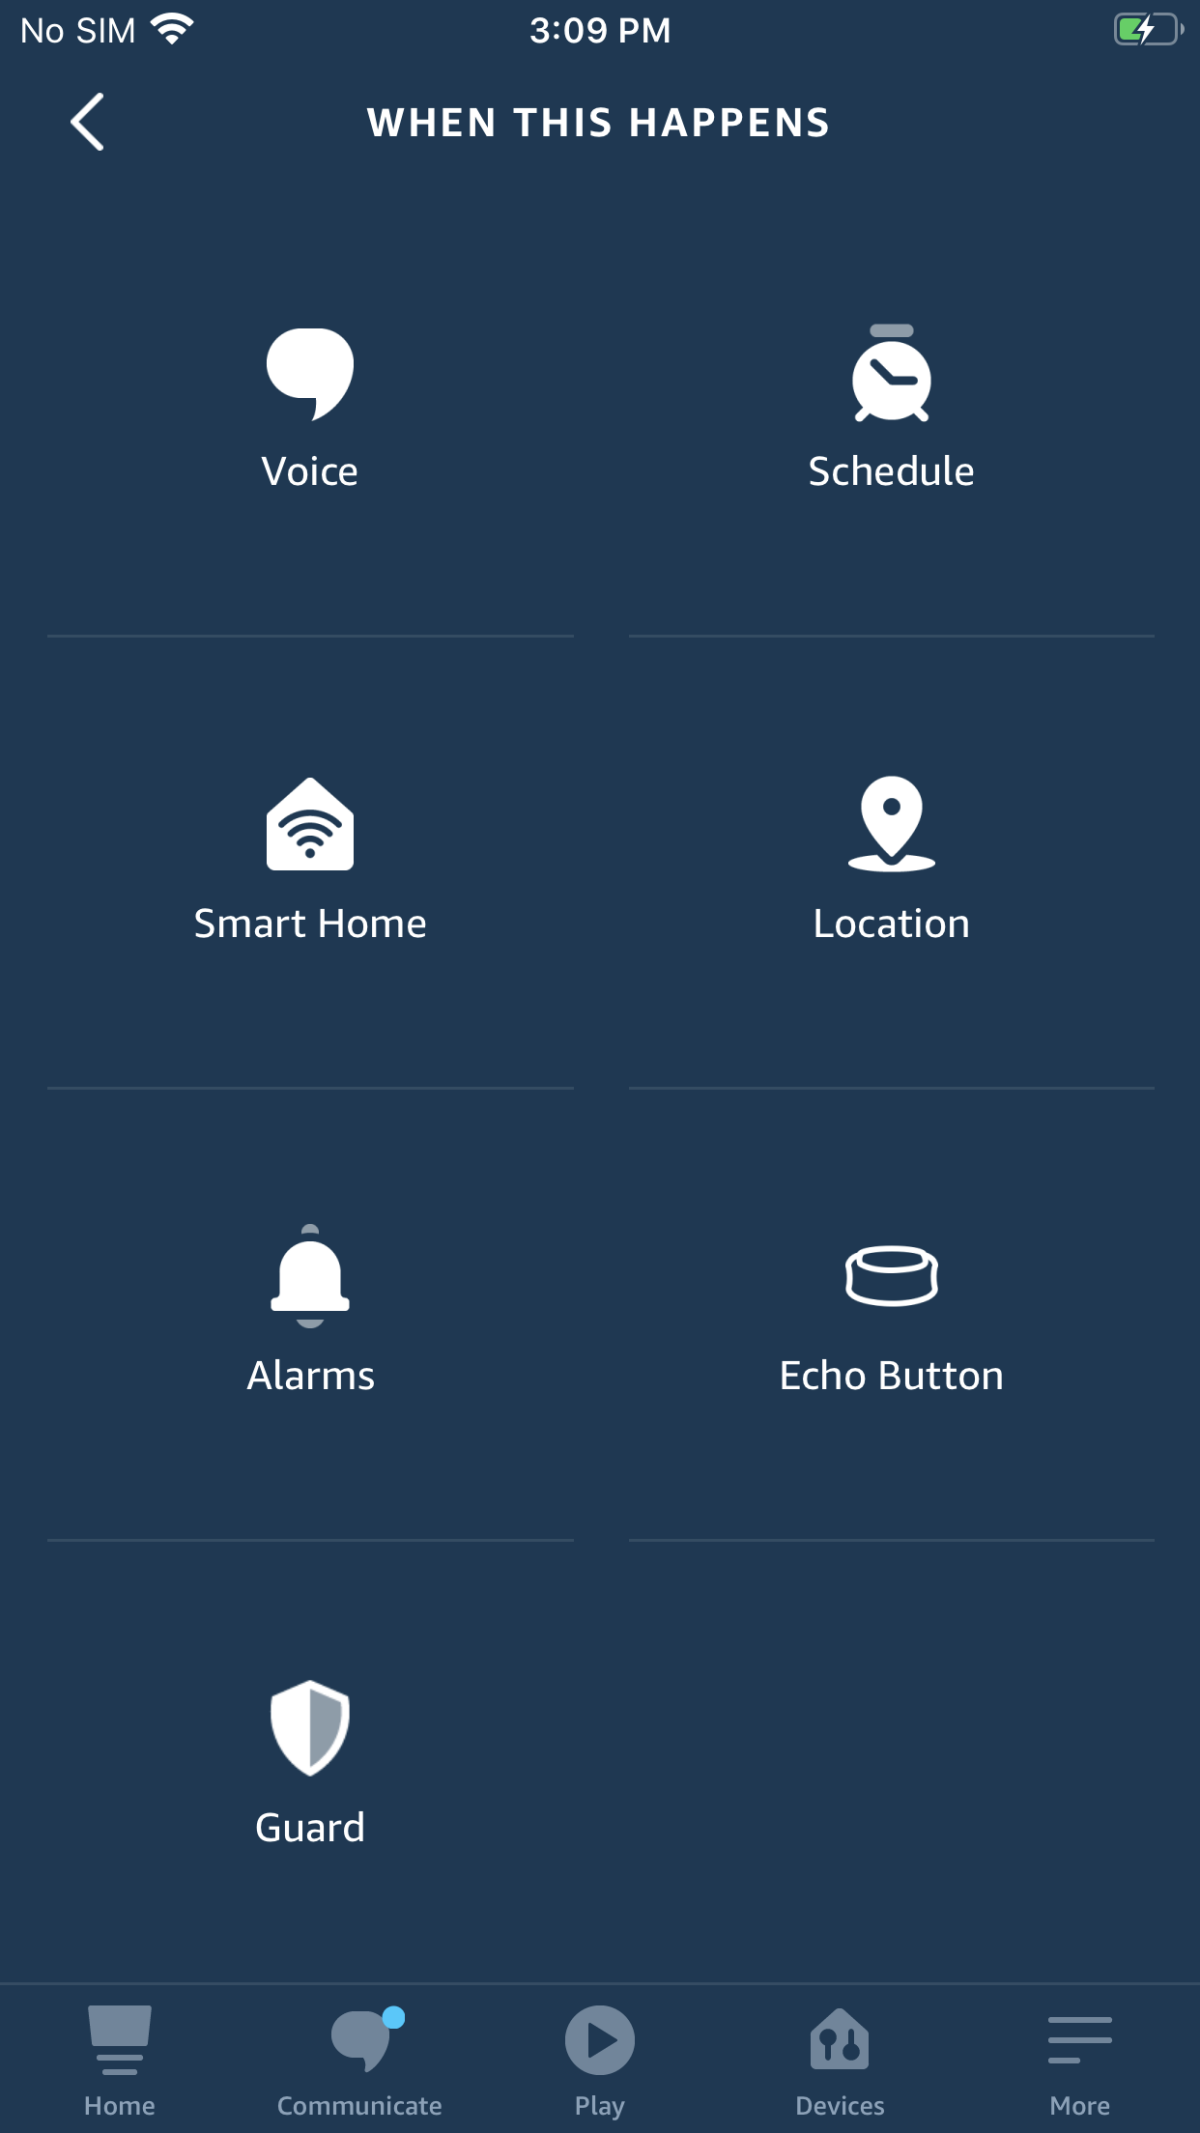
Step 5: Select the "Schedule" option from the list.
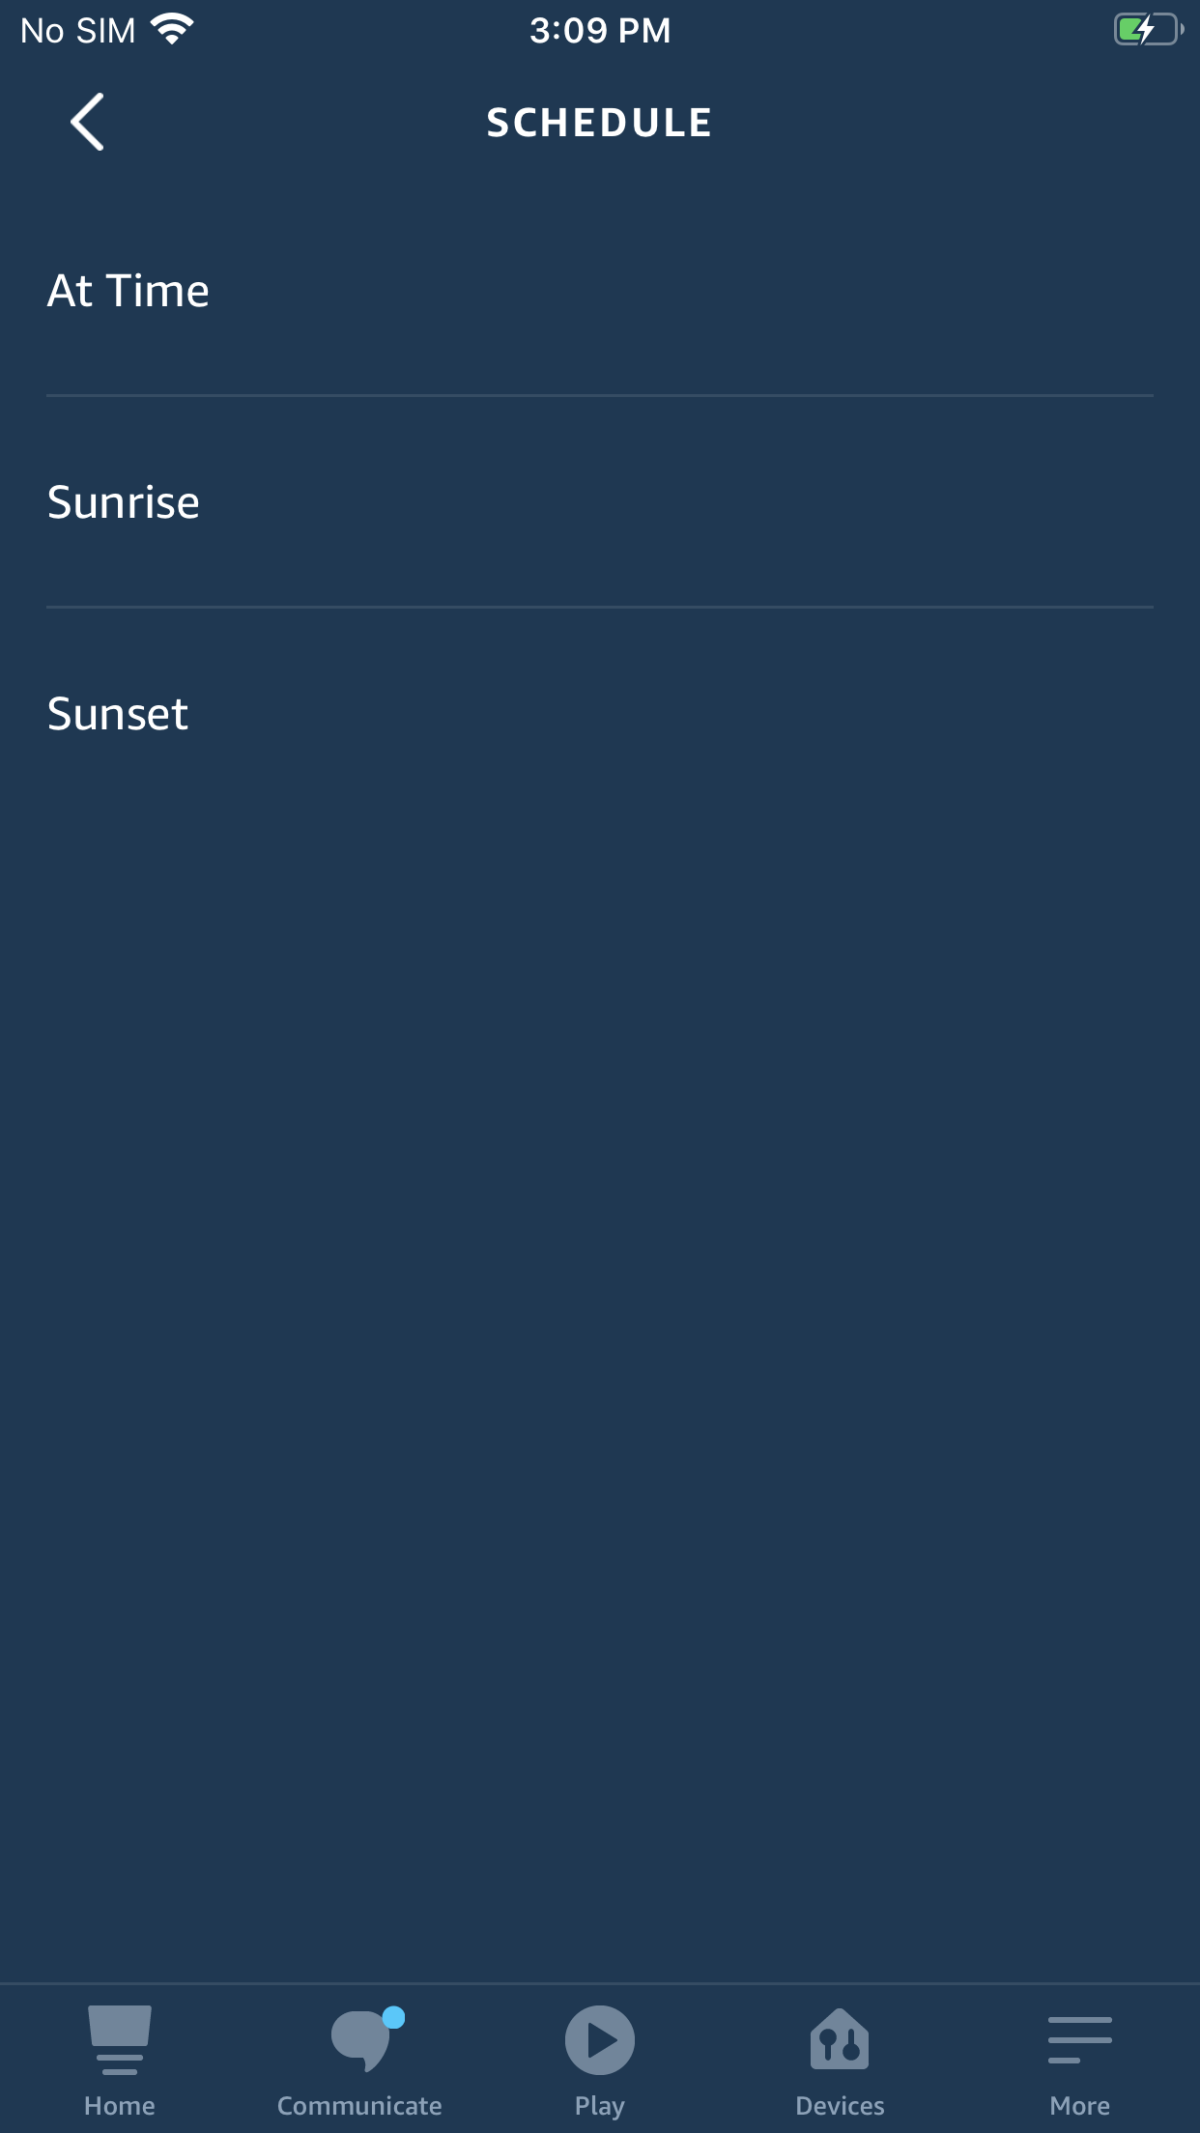
Step 6: Select the "At Time" option to set a specific time for your schedule, and how often you'd like the schedule to repeat (e.g. daily, weekdays, weekends, or a specific day of the week). You can also select a "Sunrise" or "Sunset" option for automations that run on the sun's schedule. In this example, we're going with a "Sunset" schedule since this Routine is meant for the evening.
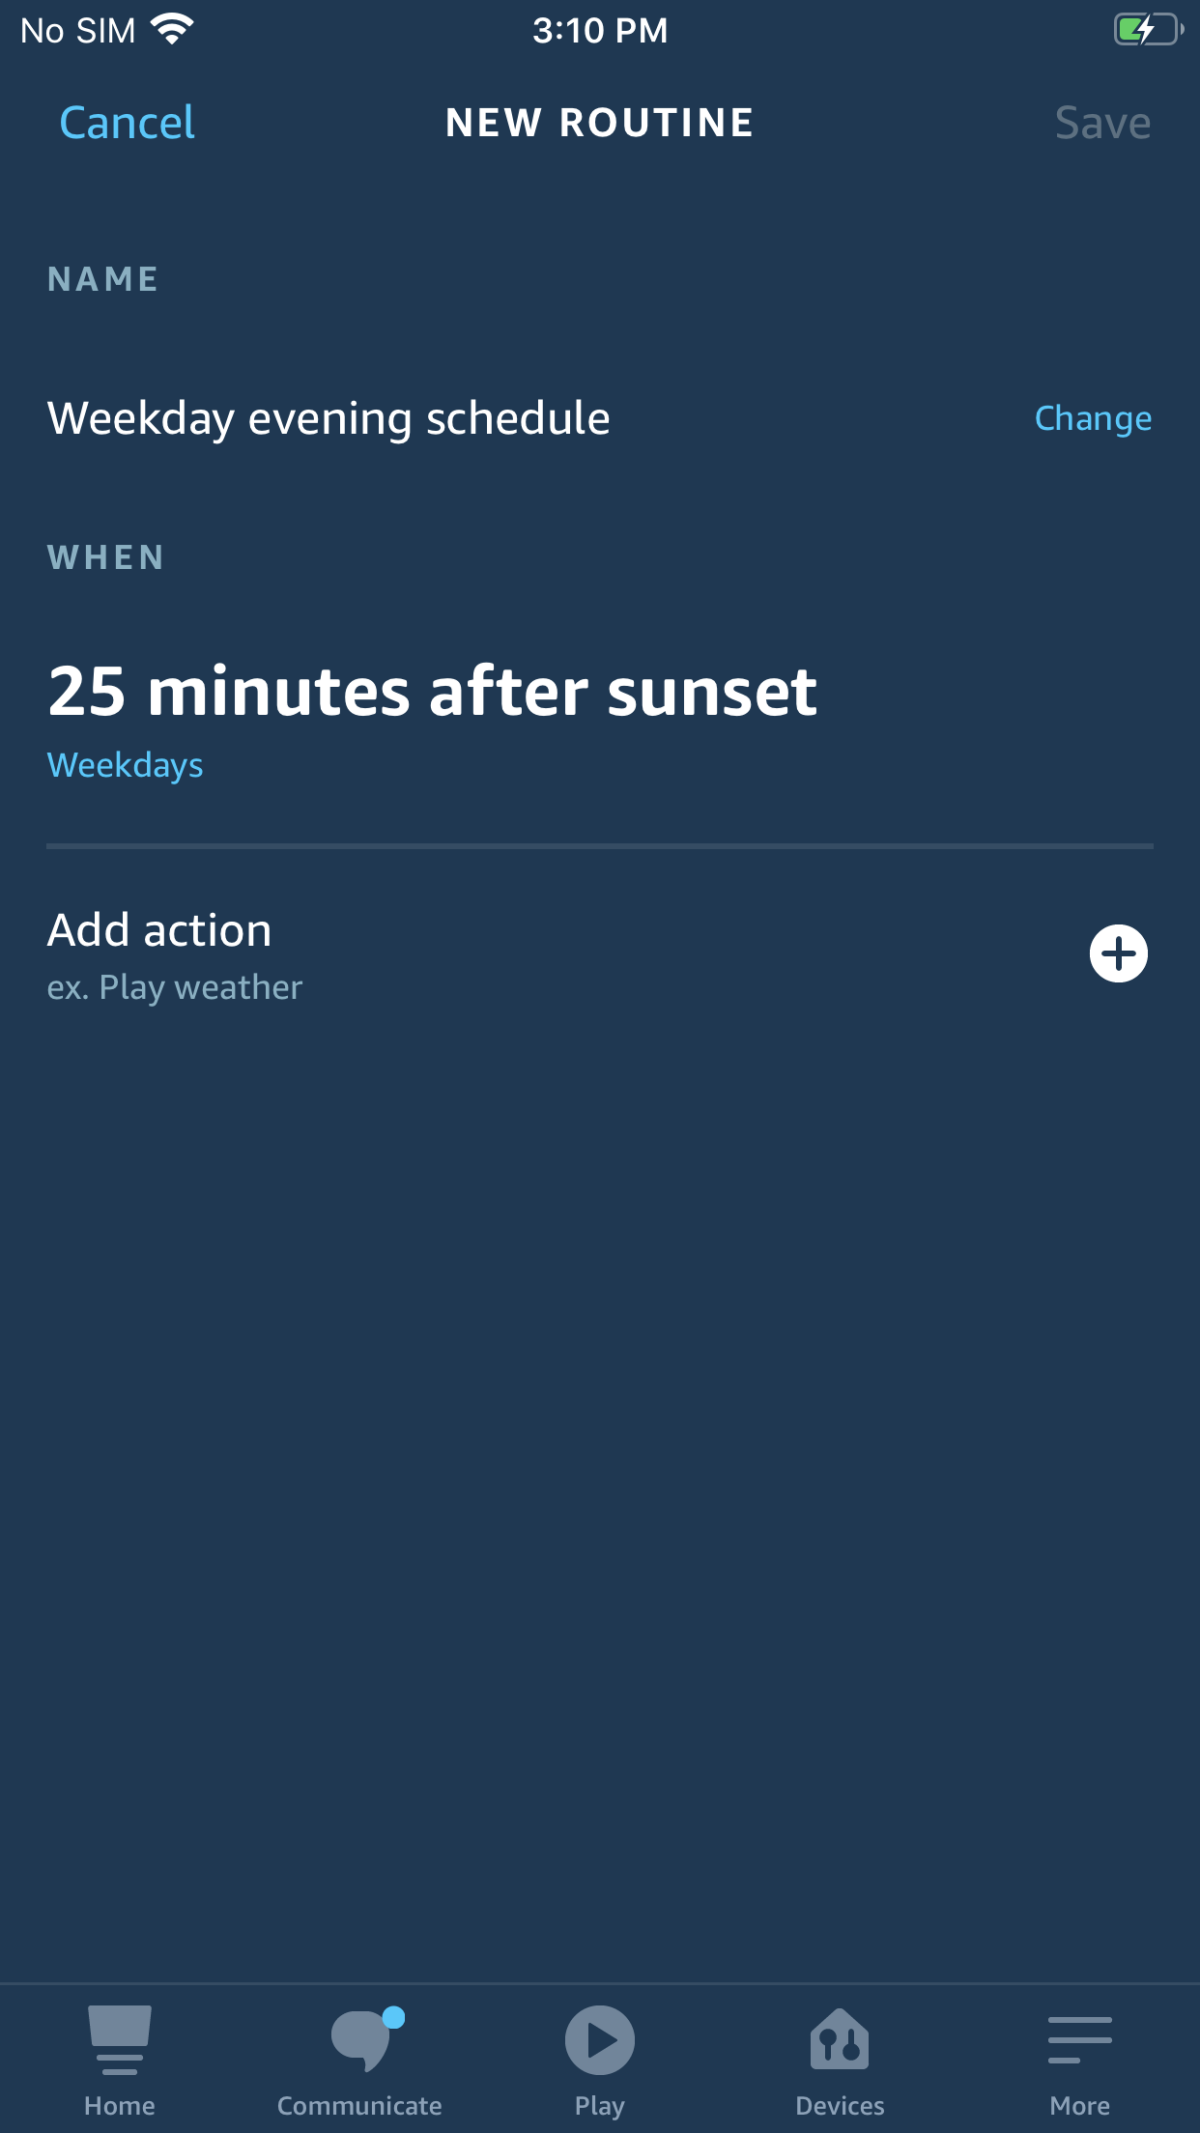
Step 7: In the "Sunset" menu, there are several customizable options. Since the sun sets at different times in different locations, you can customize the address so the schedule aligns — useful for a second home. You can also set an offset time and select which days your schedule will run. Once you're done, press "Next" in the top right-hand corner.

Step 8: Now that you've finished creating a trigger, you need to specify an action. Press the "+" symbol next to the "Add action" prompt.
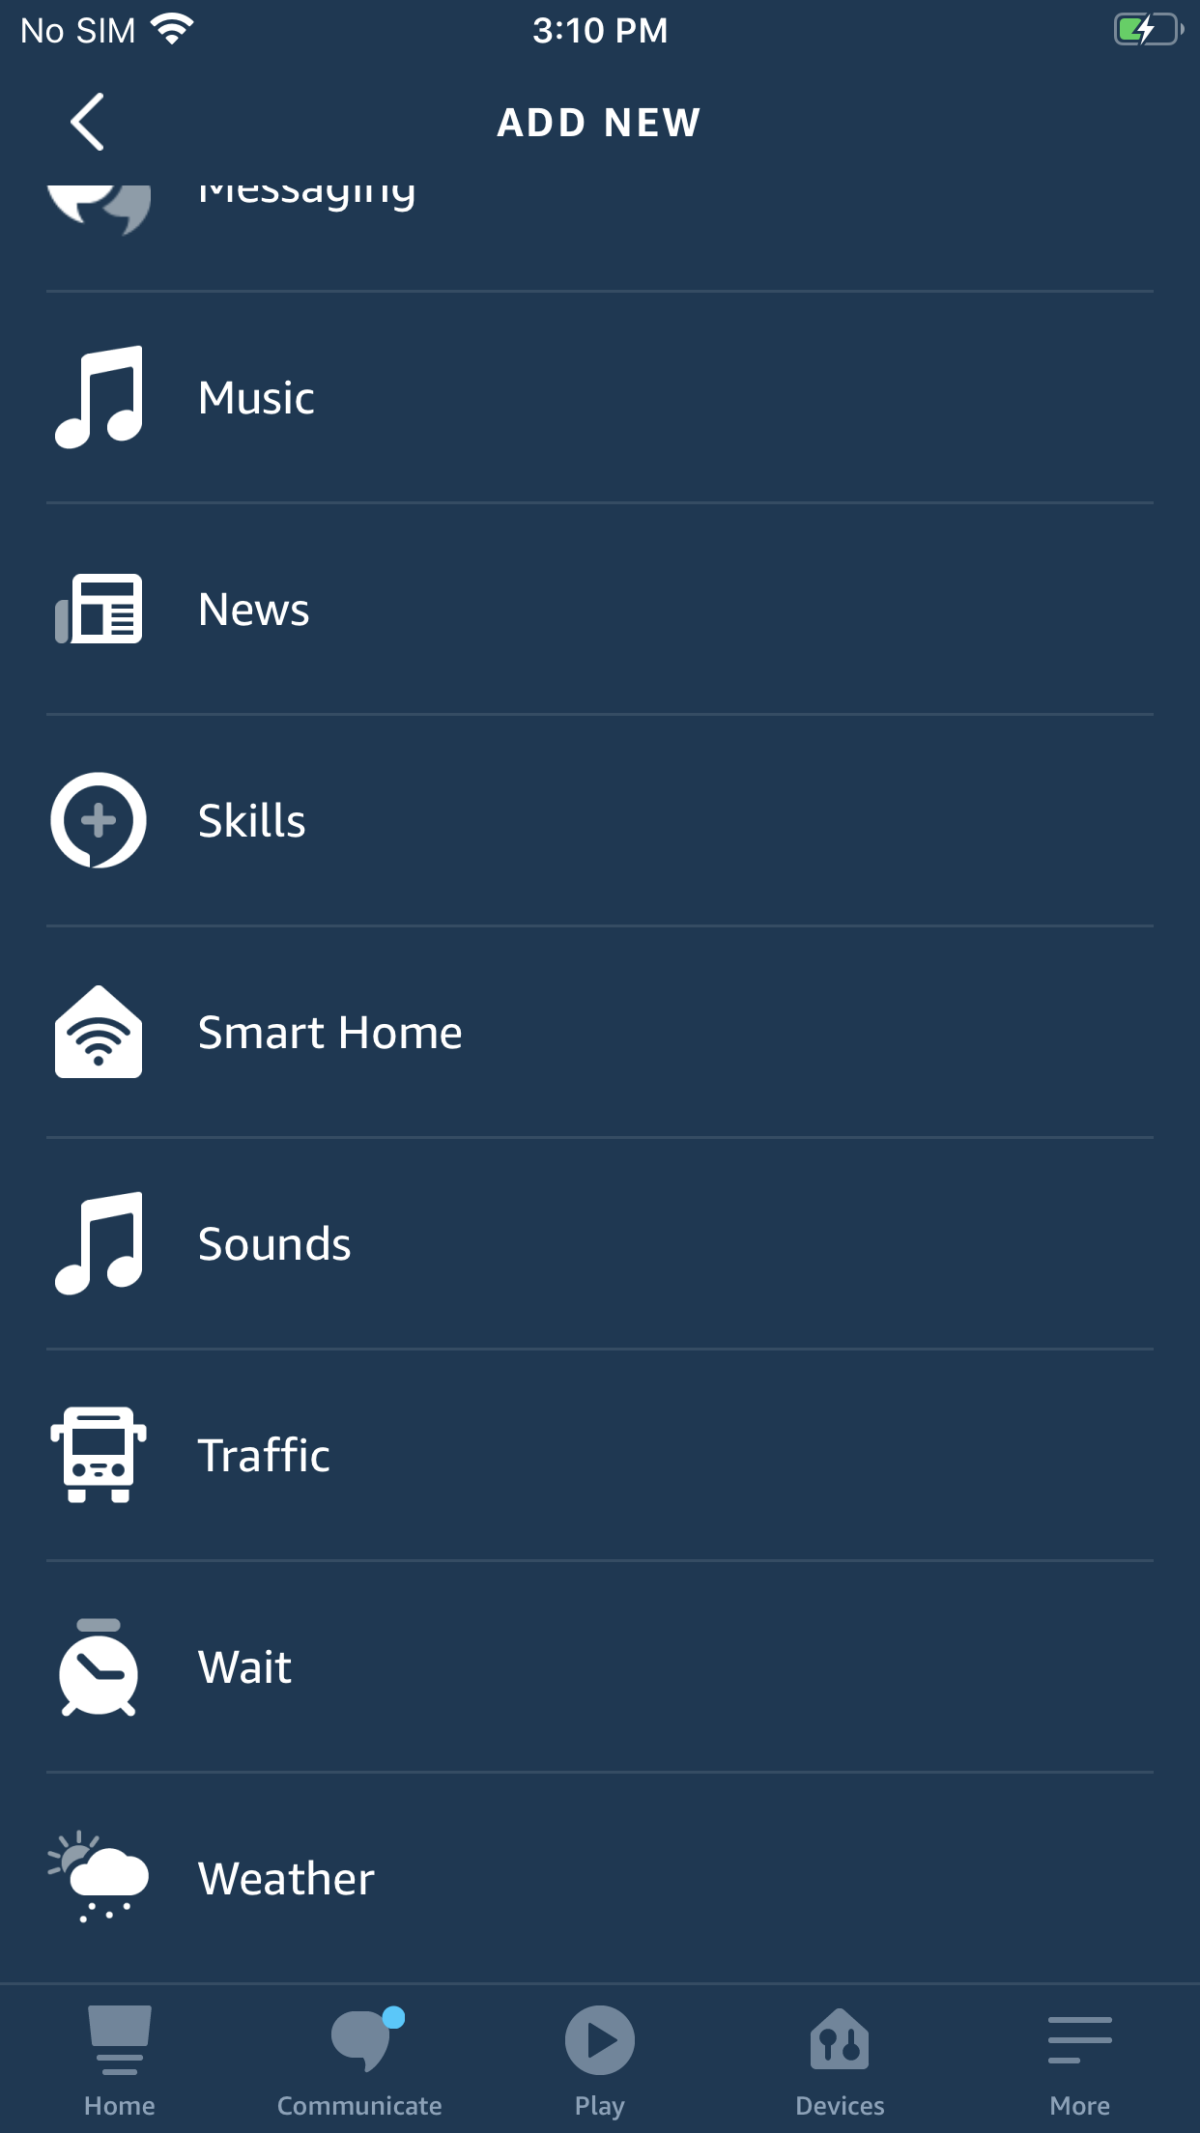
Step 9: This is where you can have some fun. For example, at sunset, you can have your Alexa device say a custom message, play music, read off a news update, send an email or text message, turn on a Fire TV, or initiate an Alexa Skill (there are 90,000+ such Skills). For this example, we're going to select "Smart Home" from the menu, because we want our sunset schedule to trigger an iDevices smart home product.
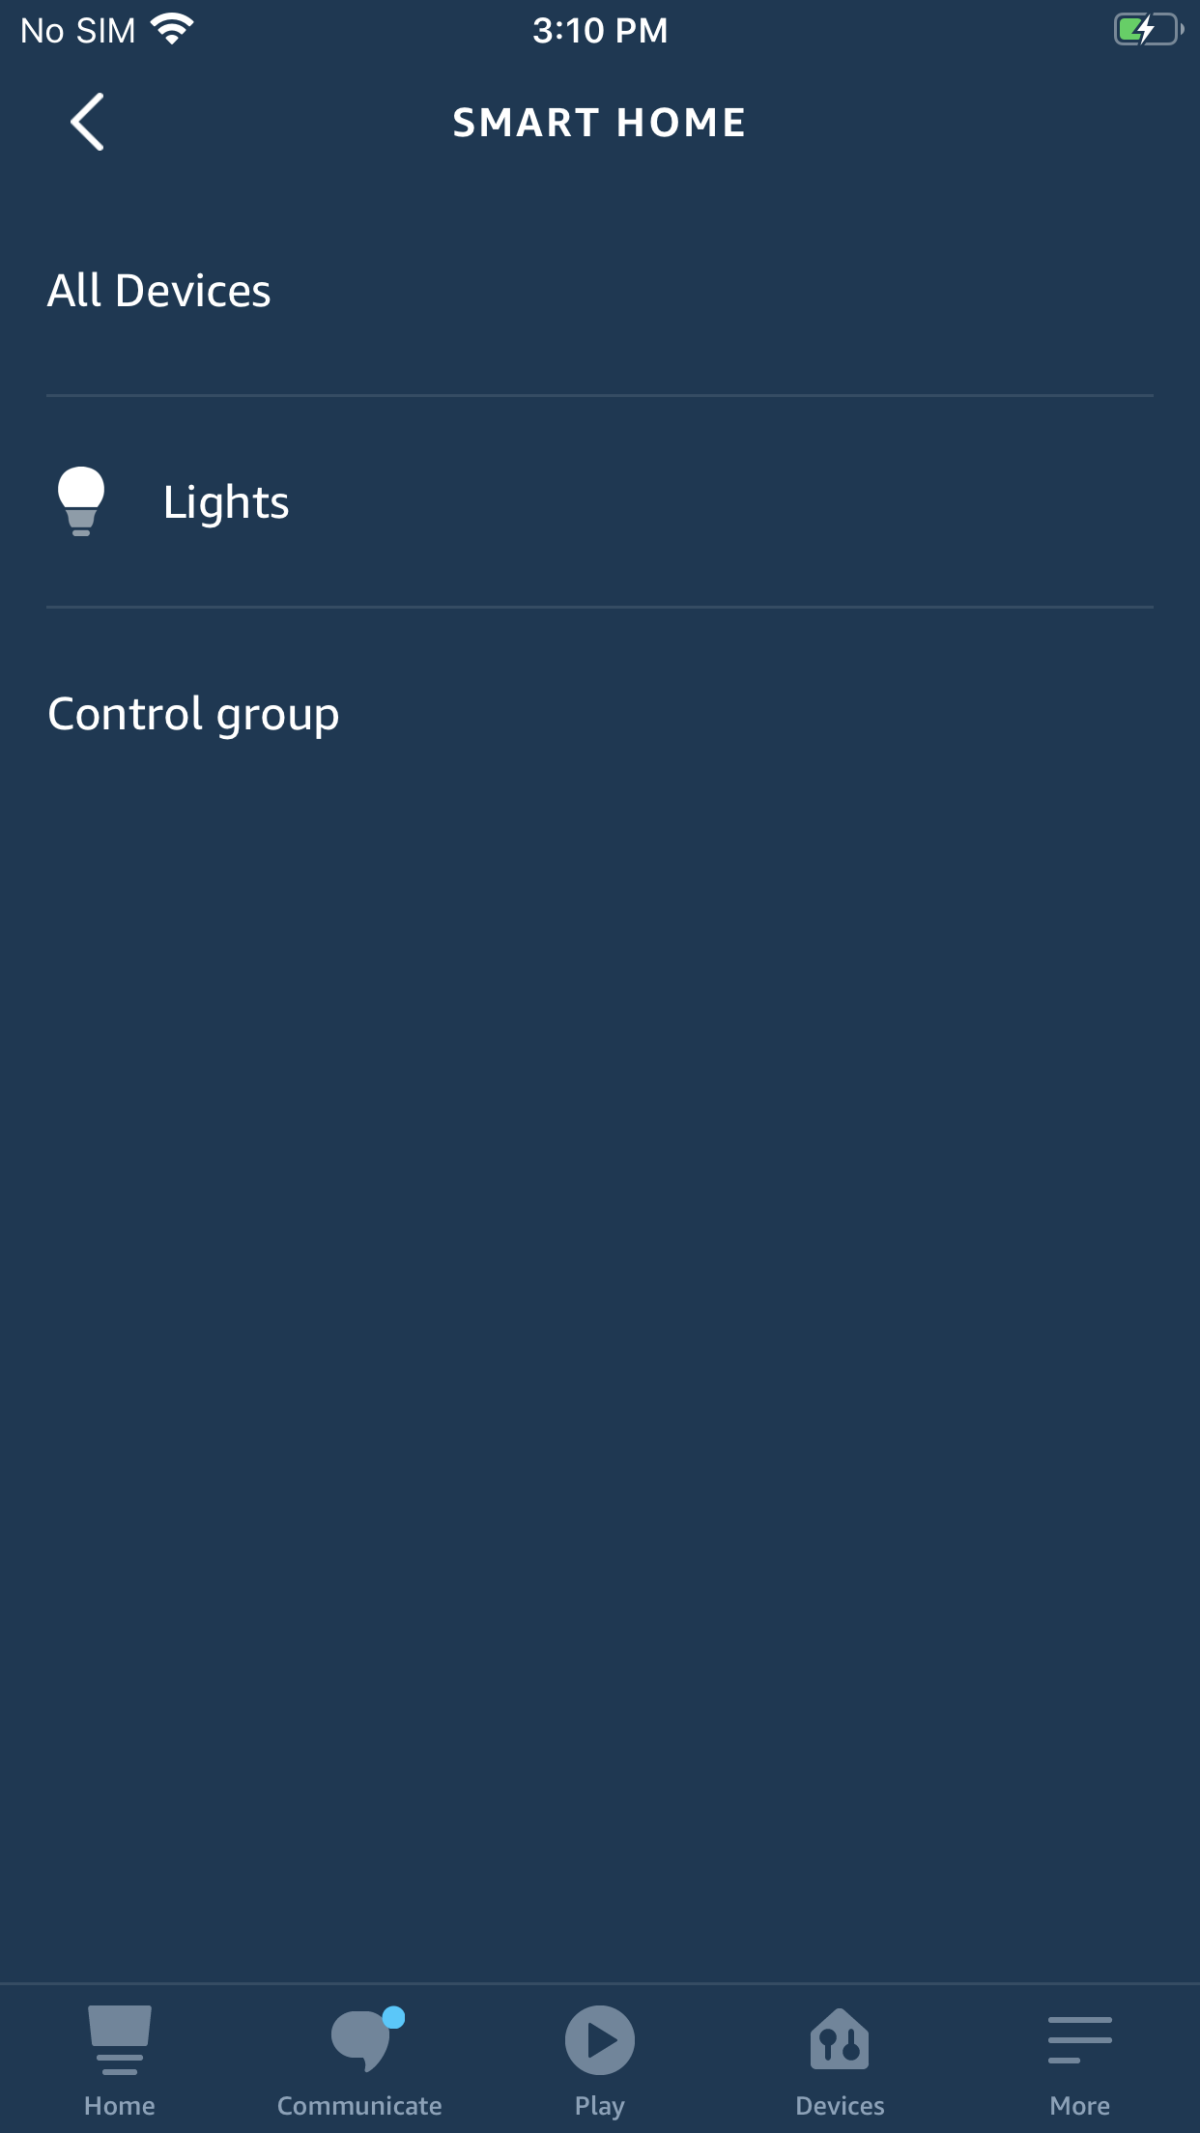
Step 10: From this screen, you can select the specific smart home device(s) you'd like to schedule. You can group products in the Amazon Alexa app (e.g. first floor, second floor, basement) and select that group as part of your schedule. To our earlier point, any group can contain products from across brands and product types (e.g. iDevices smart lights and another brand's Alexa-enabled smart lock). In this example, we're going to select "Lights," which will give us a list of all the Alexa-enabled smart lights in our account.
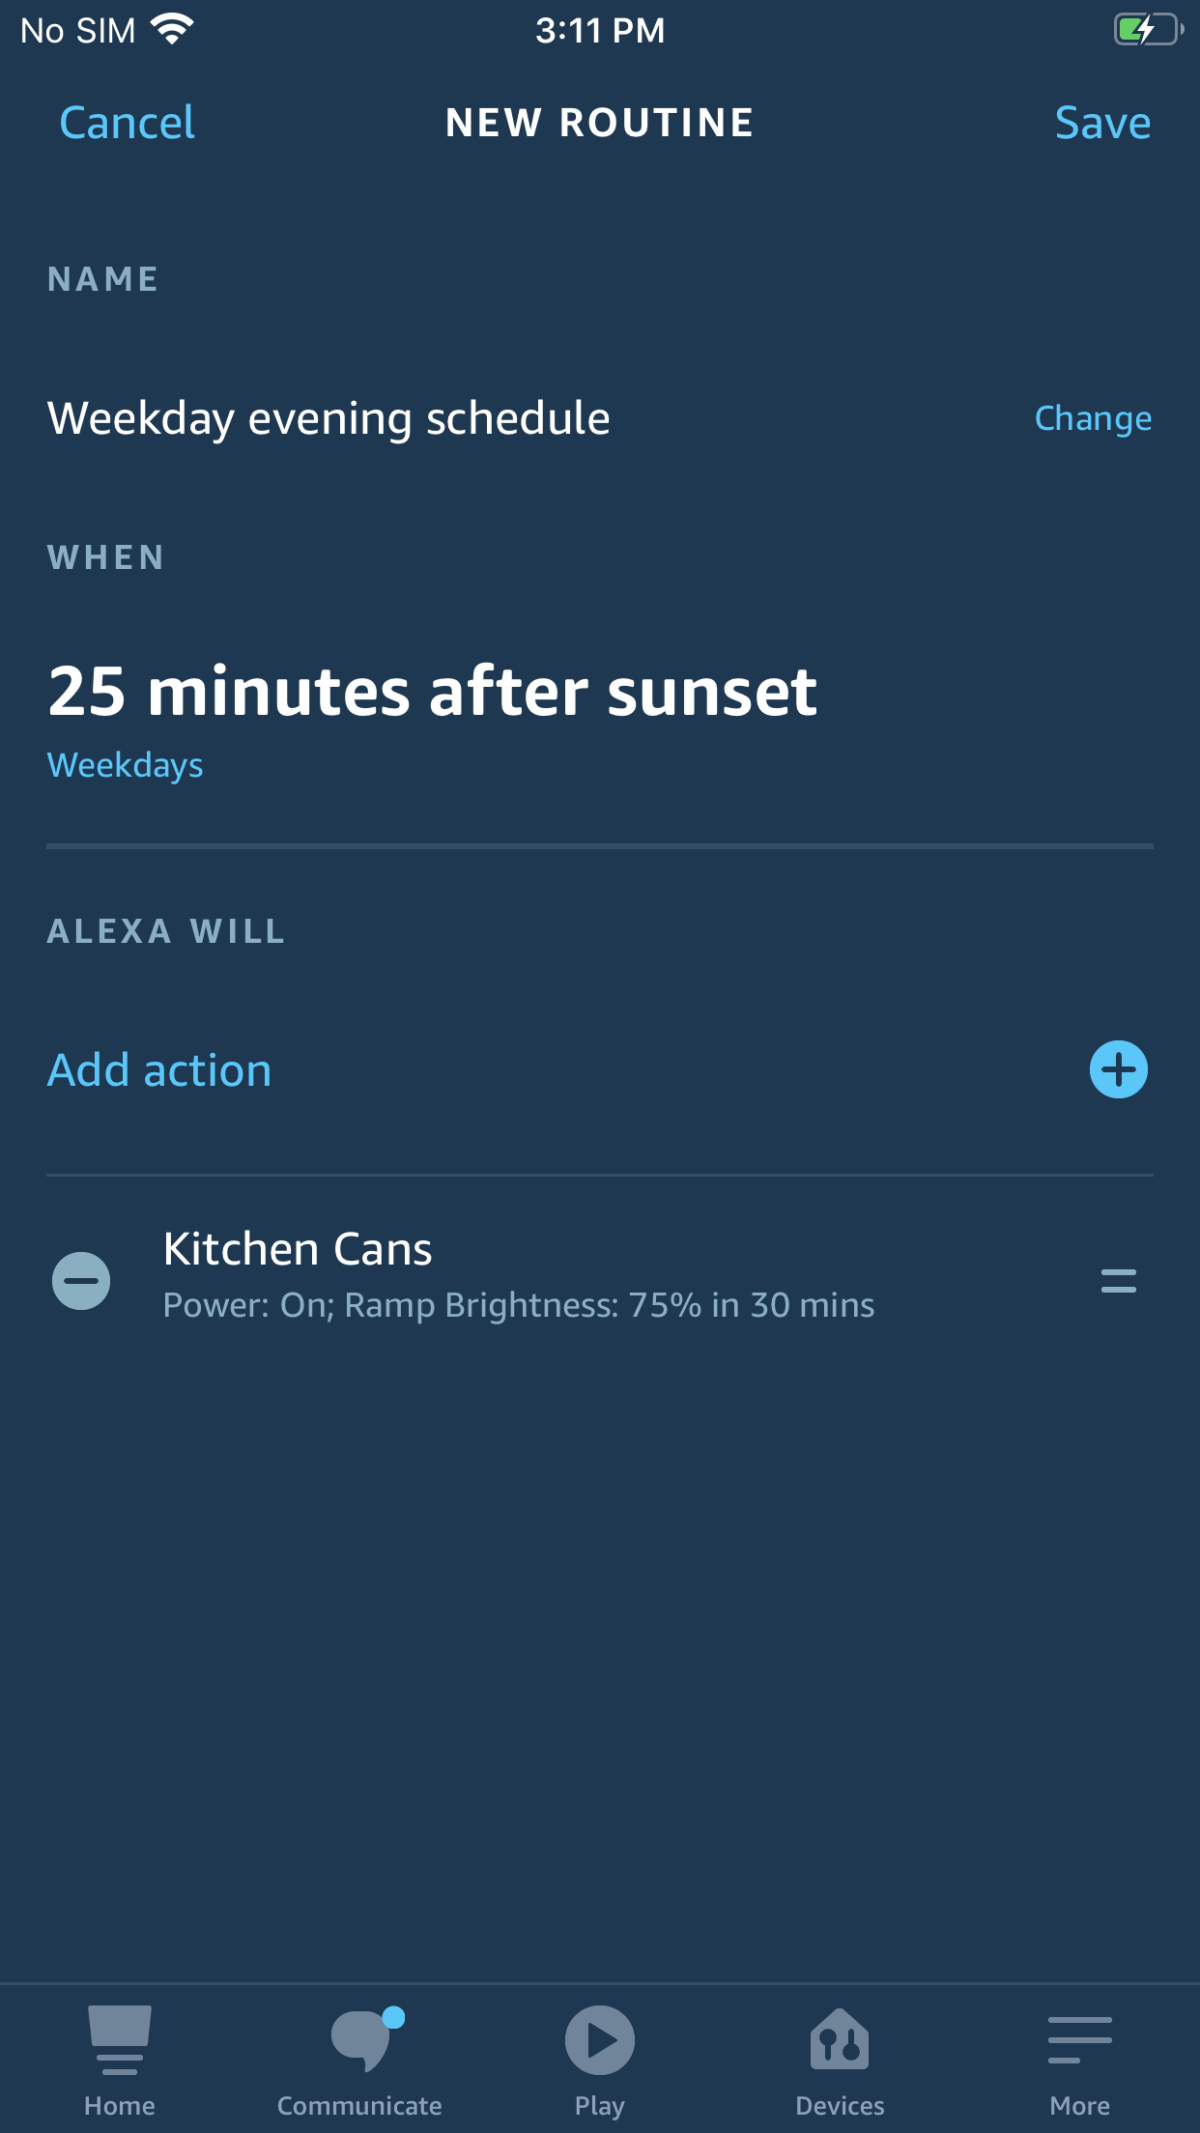
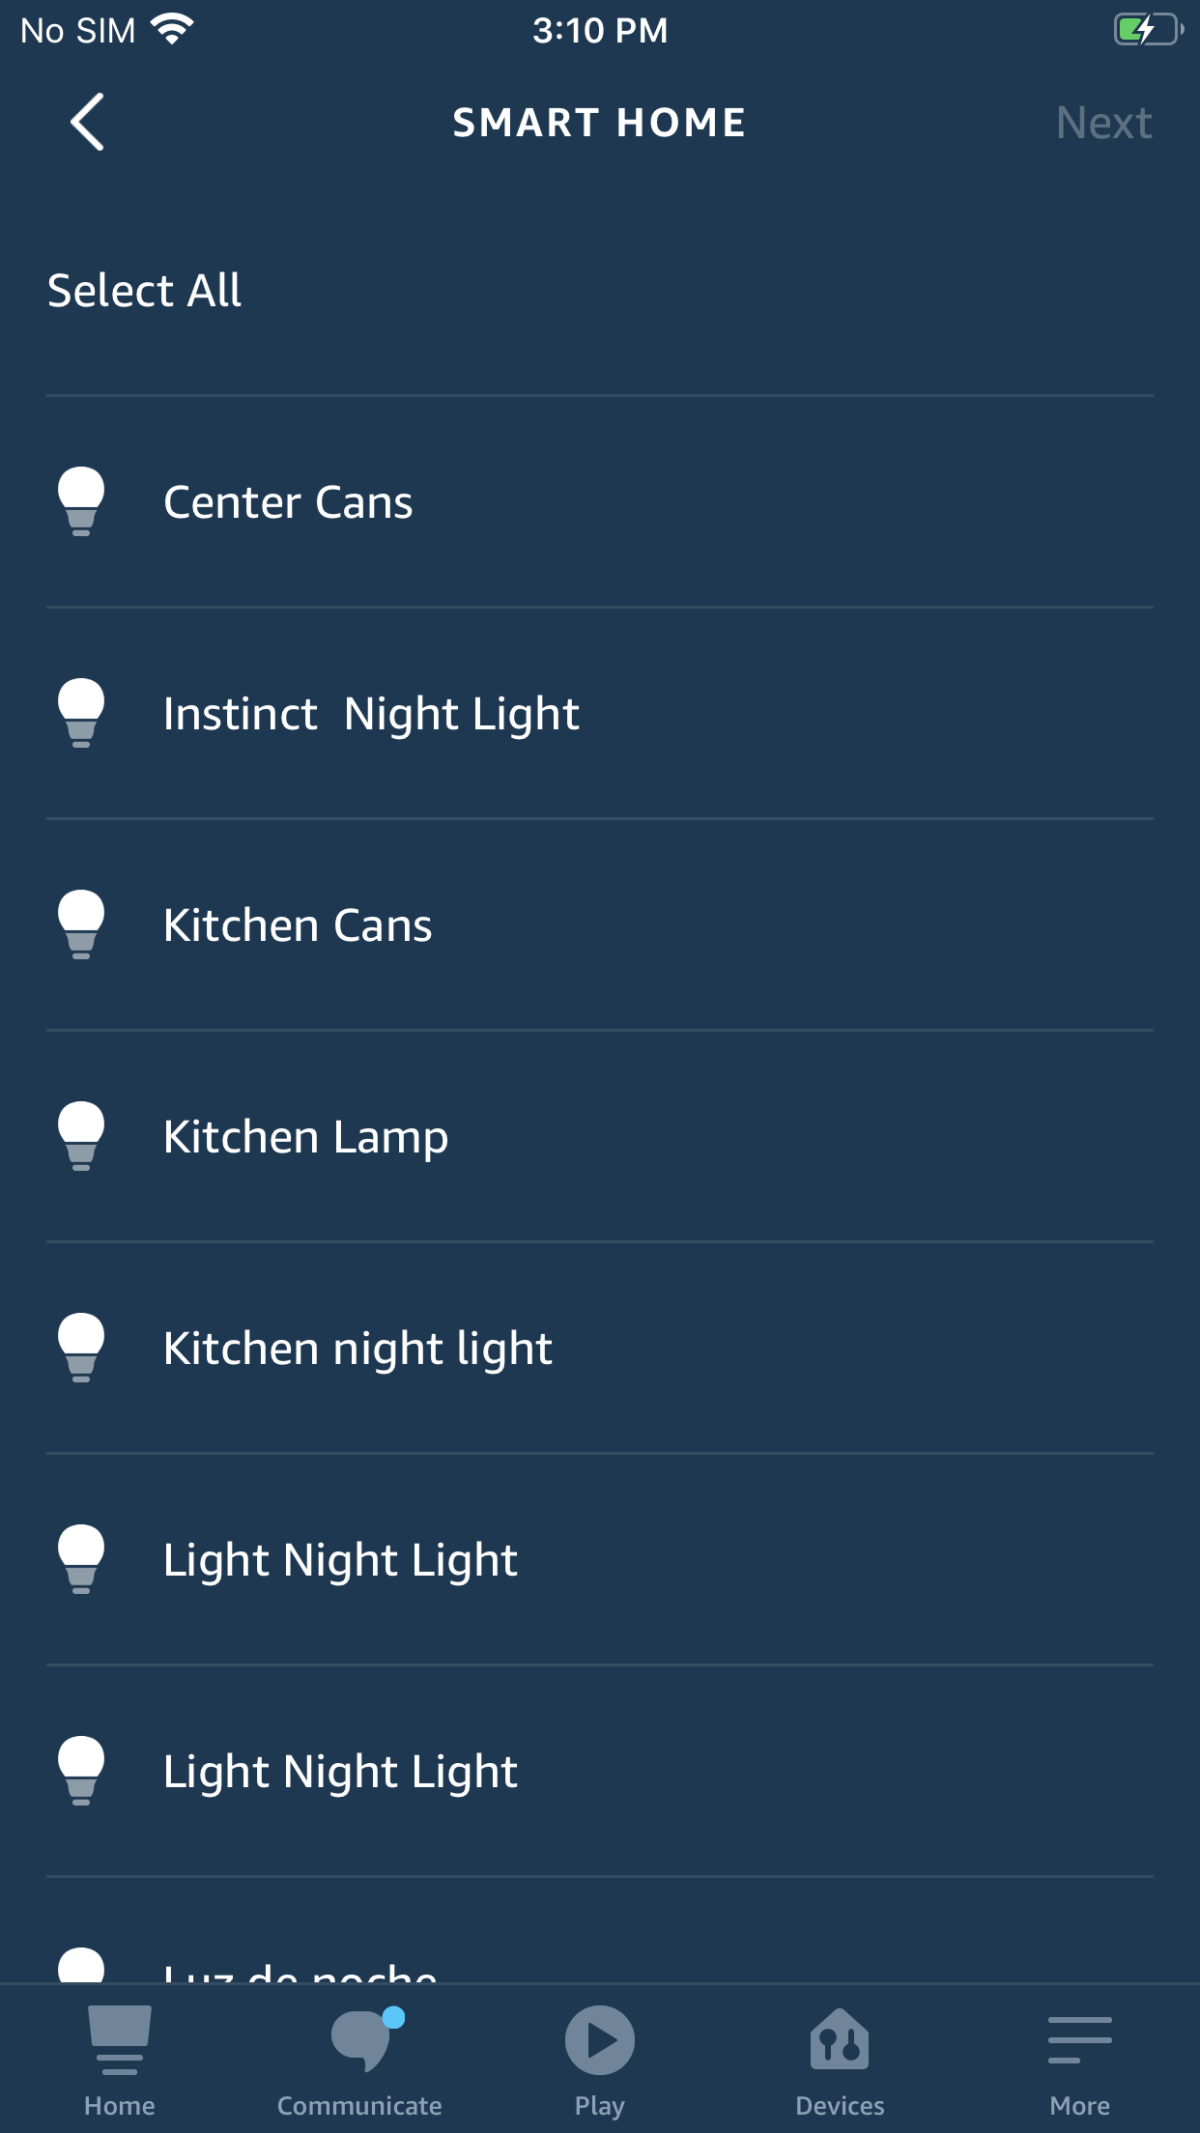
Step 11: The next app screen displays a full list of smart lights. You can select just one light, or all of them. In this example, we're selecting the can light fixtures in the kitchen, named "Kitchen Cans."
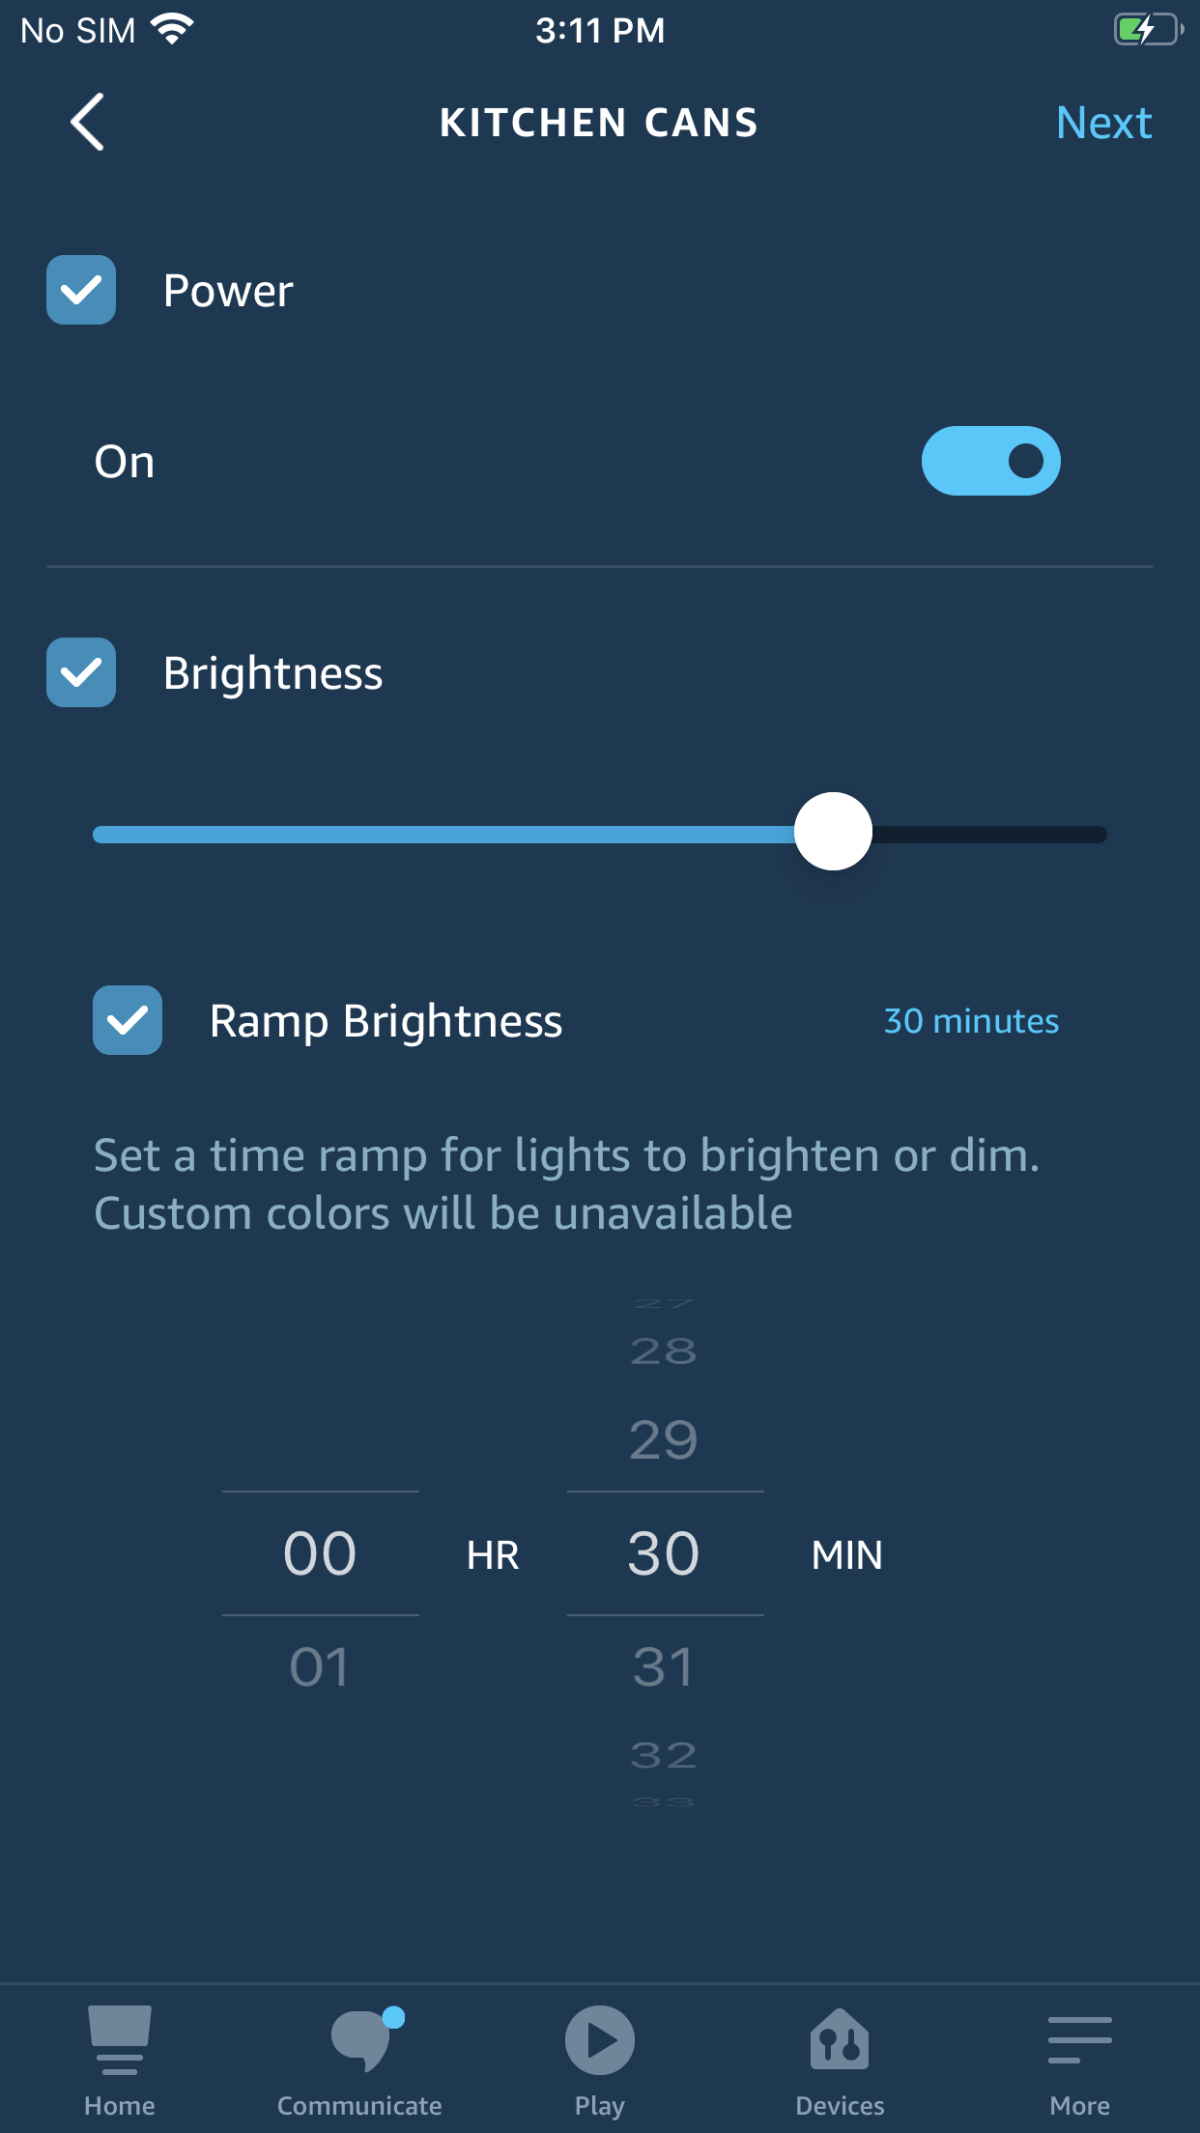
Step 12: Now we can drill into how we want our lights to react. We want our lights to turn on at sunset. You can also schedule smart home products to turn off. Since the kitchen can lights are dimmable via the iDevices Dimmer Switch, we can select a brightness level and set a time ramp for the lights to brighten or dim. We're going to slowly brighten our lights over a 30-minute period as the sun fades into the night. Press "Next" at the top right-hand corner when you're done.
Note: If a smart light has color options, you'd be able to customize that here, too. The iDevices Dimmer Switch, Wall Switch, Instinct, and Wall Outlet feature built-in night lights with customizable color options. These night lights are categorized as separate products you can schedule and customize independently of the actual light fixtures the switches control. For example, in the above screenshot, you can see "Instinct Night Light" and "Kitchen Night Light" on the list of smart lighting products.
Step 13: That's it, you're done. Just press save and start working on your next Routine! Contact our customer experience team at support@idevicesinc.com if you have any additional questions.